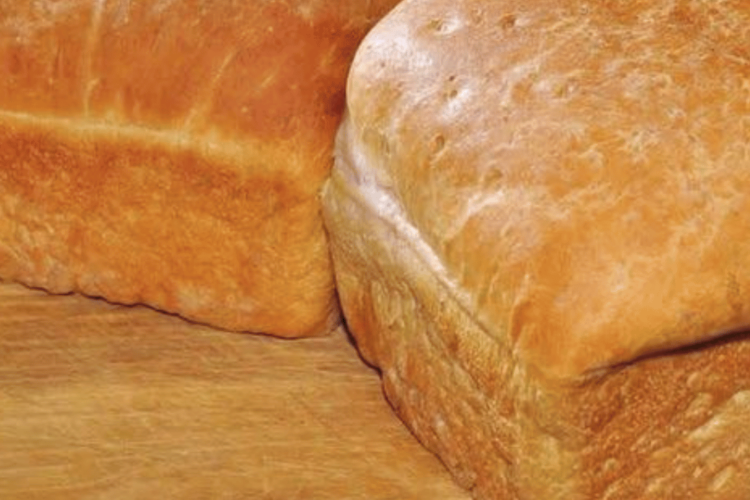
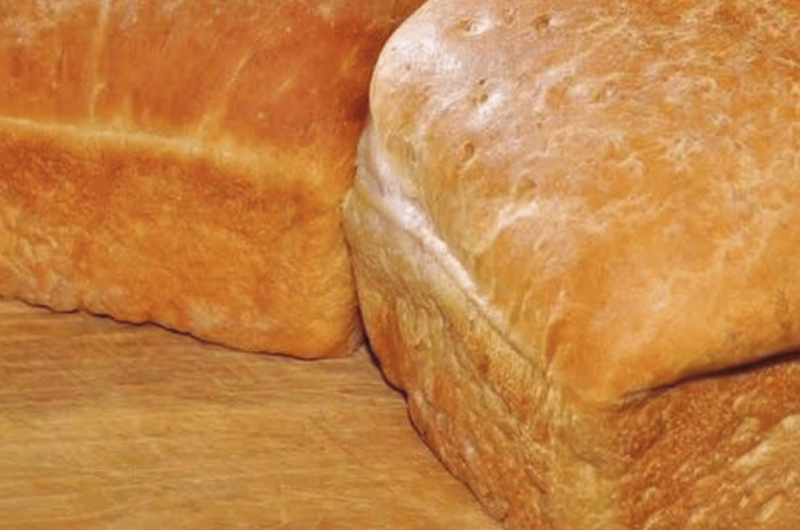
In times of hardship, innovation in the kitchen has often been a testament to the human spirit. The Great Depression, which lasted from 1929 to the late 1930s, was one of the most challenging periods in American history. During this era, families across the country were forced to stretch their resources, turning basic ingredients into nourishing meals. Depression Bread, also known as “water bread” or “poor man’s bread,” is a prime example of the ingenuity that arose from necessity.
Jump to RecipeThis bread represents more than just sustenance; it’s a symbol of resilience, creativity, and the resourcefulness of a generation. Made from simple ingredients like flour, yeast, and water, Depression Bread is a no-frills recipe that still yields a delicious, hearty loaf. While it lacks the complexity of artisanal breads with various enrichments, its rustic, straightforward approach is both nostalgic and satisfying.
In this article, we will delve deep into the history, ingredients, step-by-step instructions, and variations of Depression Bread. Additionally, we will explore its cultural significance and how you can bring this piece of culinary history into your own kitchen.
The Ingredients: A Lesson in Simplicity
The beauty of Depression Bread lies in its minimalism. With just three ingredients, this bread manages to deliver a wholesome and filling result. Let’s take a closer look at the ingredients:
1. Flour (4 cups)
Flour forms the foundation of the bread. During the Depression, families often used whatever flour was available, whether it was all-purpose, whole wheat, or even a mixture of different flours. For this recipe, we’re using four cups of all-purpose flour, but you can experiment with different types to suit your taste and texture preferences. Whole wheat flour will yield a denser, more rustic loaf, while all-purpose flour gives a lighter, fluffier texture.
2. Warm Water (2 cups)
Water is the simplest and most abundant liquid available, making it the perfect choice for Depression-era bread. Warm water activates the yeast and helps the dough rise. The temperature of the water is crucial—it should be warm but not hot, ideally between 105°F and 115°F. Too hot, and the yeast will die; too cold, and the yeast won’t activate properly.
3. Yeast (2 Tablespoons)
Yeast is the key to transforming a basic mixture of flour and water into a loaf of bread. During the Depression, yeast could be hard to come by, so many households learned to make their own starters using natural fermentation processes. In this recipe, we use two tablespoons of yeast to ensure a good rise. Active dry yeast is recommended, as it is widely available and easy to use.
The Process: Step-by-Step Instructions
Now that we’ve covered the ingredients, let’s walk through the process of making this simple yet flavorful bread.
Step 1: Prepare the Flour and Yeast
In a large mixing bowl, pour in four cups of flour. Create a small well or hole in the center of the flour, which will serve as the space for the yeast and water. This is an old-school technique that allows the yeast to be gradually incorporated into the flour, making it easier to control the mixing process.
Step 2: Activate the Yeast
In a separate container, combine two tablespoons of yeast with two cups of warm water. Gently stir the mixture to dissolve the yeast. Let it sit for about five minutes until the yeast begins to foam. This foaming action indicates that the yeast is active and ready to be used.
Step 3: Mix the Dough
Pour the yeast and water mixture into the well you created in the flour. Gradually mix the water into the flour, using a spoon or your hands, until the dough starts to come together. Once the dough has absorbed the water and yeast, continue mixing until it forms a cohesive ball. The dough should be soft and slightly sticky but not overly wet.
Step 4: Allow the Dough to Rise
Cover the bowl with a clean kitchen towel and let the dough rise in a warm place for about 30 minutes or until it has doubled in size. This rising process is essential for giving the bread its light, airy texture. During the Great Depression, people would often place their dough near a wood stove or in a warm corner of the kitchen to encourage rising.
Step 5: Knead the Dough
Once the dough has risen, it’s time to knead. Turn the dough out onto a floured surface and knead it for 5-10 minutes. Kneading helps develop the gluten in the flour, which gives the bread its structure. The dough should become smooth and elastic as you work with it.
Step 6: Shape the Loaves
Divide the dough into two equal portions. Shape each portion into a loaf by folding the dough over itself a few times and then rolling it into a cylindrical shape. You can place the loaves directly onto a baking sheet, or use loaf pans if you prefer a more structured shape.
Step 7: Let the Loaves Rise Again
Cover the loaves with a towel and allow them to rise for another 30 minutes. This second rise is crucial for achieving a light, fluffy texture inside the bread. As the dough rises, it will expand and take on its final shape.
Step 8: Bake the Bread
Preheat your oven to 300°F (150°C). Once the loaves have risen for a second time, place them in the oven and bake for about 45-60 minutes or until the bread is golden brown. You can test for doneness by tapping the top of the loaf—if it sounds hollow, the bread is ready.
Step 9: Cool and Serve
After baking, remove the bread from the oven and let it cool on a wire rack. Cooling the bread allows the internal structure to set, ensuring a better texture. Once cooled, slice and enjoy your Depression Bread with butter, jam, or simply as is.
The Significance of Depression Bread
Depression Bread, like many other recipes from this era, was born out of necessity. With limited ingredients and resources, families had to make do with what they had. Flour, water, and yeast were often the only ingredients available, yet they were transformed into something that could sustain entire households.
During the Great Depression, meals were often frugal and focused on maximizing calories while minimizing costs. Bread, being a filling and versatile staple, became a dietary cornerstone for many families. It could be eaten with a variety of spreads, used to bulk up soups, or served alongside stews and casseroles. Depression Bread, in particular, was prized for its simplicity and its ability to stretch a few basic ingredients into multiple servings.
Beyond its practical significance, Depression Bread also carries a cultural and emotional weight. For many, it represents the resilience and ingenuity of those who lived through the Great Depression. It’s a reminder of the hardships faced by previous generations and the ways in which they persevered, often by returning to simple, foundational recipes that could nourish both body and soul.
Depression Bread (Old fashion / old school) - baking / side
Ingredients
4 cups flour
2 cups warm water
2 Tbsps. yeast
Directions
- Pour flour into a large bowl and create a hole in the center.
- Pour the yeast and warm water in the center, then combine with the flour until you form a ball.
- Cover with a towel and allow to rise for 30 minutes, or until it's doubled in size.
- Knead the dough and split into two loaves, then allow to rise one more time.
- Bake at 300 °F until golden.
Craving more? You’ll want to try this recipe too!
Homemade Cinnamon Bread Recipe
Cream Cheese Banana Bread – light, moist and delicious!
Variations of Depression Bread
While the basic Depression Bread recipe is simple, there are several ways to modify and personalize it based on your preferences or what ingredients you have on hand. Here are a few variations you might consider:
1. Whole Wheat Depression Bread
For a heartier, more nutritious version of this bread, try using whole wheat flour in place of or in combination with all-purpose flour. Whole wheat flour adds a nutty flavor and denser texture, making the bread more filling. You may need to adjust the amount of water to account for the higher absorption rate of whole wheat flour.
2. Sweet Depression Bread
If you want to add a touch of sweetness to your bread, you can mix in a tablespoon or two of sugar or honey with the yeast and water. This version of the bread pairs beautifully with butter and jam for a simple breakfast or snack.
3. Herb Depression Bread
For a more savory twist, try incorporating dried herbs into the dough. Rosemary, thyme, or oregano can add depth of flavor and make the bread more aromatic. This variation pairs well with soups, stews, or as a base for sandwiches.
4. Depression Bread Rolls
Instead of making loaves, you can shape the dough into individual rolls. This is a great option if you want to serve the bread as part of a dinner spread. Simply divide the dough into smaller portions after the first rise and shape each portion into a roll. Let the rolls rise again before baking.
5. Add-Ins
During the Depression, people often added whatever ingredients they had on hand to stretch their meals. You can do the same with this bread recipe by incorporating chopped nuts, seeds, or dried fruits. These add-ins not only enhance the flavor and texture of the bread but also increase its nutritional value.
Baking Tips for Success
Making bread from scratch can be intimidating, but with a few tips and tricks, you can ensure your Depression Bread turns out perfectly every time:
1. Measure Your Ingredients Accurately
Bread-making requires precision, especially when it comes to flour and liquid ratios. Use a kitchen scale if possible to measure your flour, or spoon the flour into the measuring cup and level it off with a knife for accuracy.
2. Control the Water Temperature
When working with yeast, water temperature is crucial. Too hot, and you’ll kill the yeast; too cold, and it won’t activate. Aim for water that’s warm to the touch but not hot—around 105°F to 115°F is ideal.
3. Be Patient with the Rise
Bread dough needs time to rise properly. Don’t rush the process, as this will affect the texture of the final product. Allow the dough to rise in a warm, draft-free place for the best results.
4. Use a Light Hand When Kneading
While kneading is essential for developing the gluten in the dough, you don’t want to overwork it. Aim for a smooth, elastic dough after about 5-10 minutes of kneading.
Conclusion: A Slice of History
Depression Bread is more than just a recipe—it’s a piece of culinary history that tells the story of resilience and resourcefulness during one of America’s most challenging times. By using simple ingredients and traditional techniques, this bread manages to be both humble and nourishing.
As you bake your own loaves of Depression Bread, take a moment to reflect on the history behind the recipe. This bread was born out of necessity, but it has endured through the years as a testament to the creativity and strength of those who lived through the Great Depression. Today, it serves as a reminder that even in the face of hardship, we can find ways to sustain ourselves and our loved ones with the most basic of ingredients.
Whether you’re baking Depression Bread as a nod to history, or simply because you love the simplicity of the recipe, you’re sure to enjoy the process and the final product. Serve it with butter, jam, or alongside a hearty stew, and you’ll be enjoying a slice of history that’s as relevant today as it was nearly a century ago.

