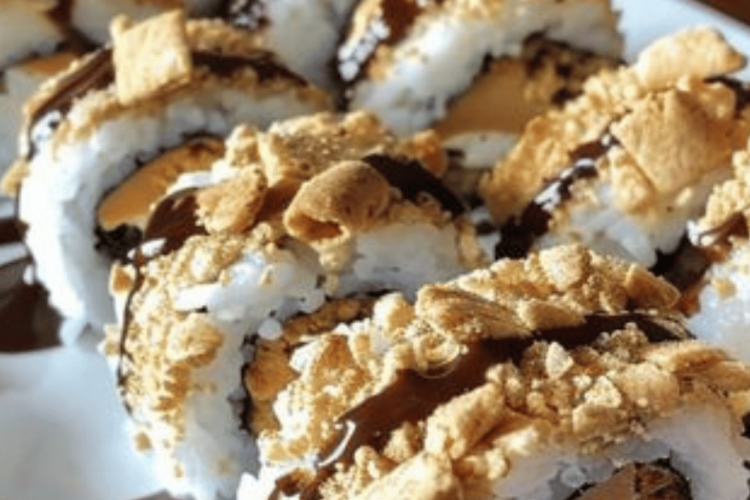
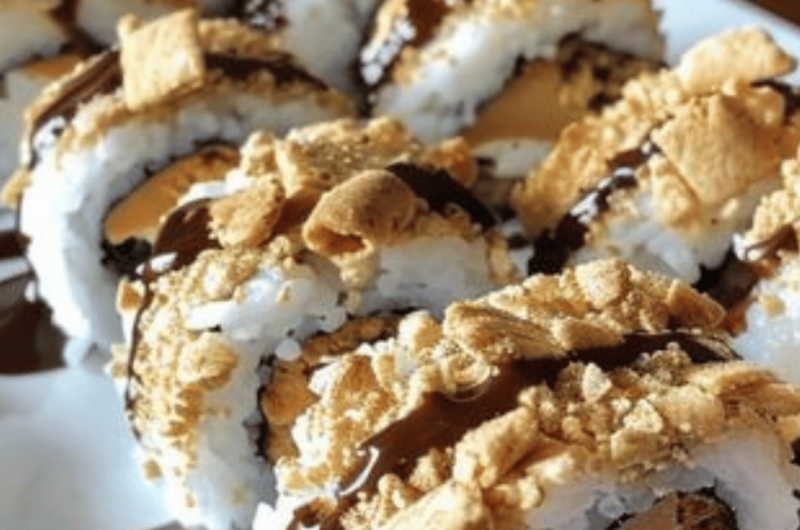
If you’re a fan of the classic campfire treat s’mores but are looking for a creative twist, S’mores Sushi is a dessert that marries the gooey, chocolatey goodness of s’mores with the fun presentation of sushi. This recipe transforms simple ingredients like Rice Krispies, marshmallow Fluff, graham crackers, and melted chocolate into an irresistibly sweet and crunchy roll. It’s perfect for parties, family gatherings, or any time you want to impress with a playful yet indulgent dessert.
Jump to RecipeThis inventive take on s’mores brings all the flavors you love into one bite-sized treat, with each element carefully layered and rolled into a sushi-inspired presentation. Let’s break down the steps and ingredients to help you create this easy, no-bake dessert in your kitchen.
Ingredients: Breaking Down the Components
1. Butter (1/4 Cup)
Butter is essential for making the Rice Krispies treat base. It provides richness and ensures that the marshmallows melt smoothly, coating the cereal evenly. The buttery taste also adds a nice contrast to the sweetness of the marshmallows and chocolate, balancing the overall flavor.
2. Mini Marshmallows (10 oz.)
Mini marshmallows are the backbone of this recipe. When melted with butter, they create a sticky, gooey mixture that holds the Rice Krispies cereal together. Mini marshmallows melt quickly, making them ideal for this recipe. If you only have large marshmallows on hand, you can use them, but mini ones are easier to work with.
3. Rice Krispies Cereal (5 Cups)
The crunchy texture of Rice Krispies cereal gives the “sushi” its structure and crispy bite. It acts as the base of the roll, much like the rice in traditional sushi. Rice Krispies provide a light and airy texture that complements the gooey marshmallow mixture without being too heavy.
4. Marshmallow Fluff (2 Cups)
Marshmallow Fluff brings an extra layer of sweetness and stickiness to the sushi rolls. It adds that gooey marshmallow flavor that’s iconic to s’mores but in a more spreadable form. Spreading the Fluff over the Rice Krispies base ensures that each bite is loaded with marshmallow goodness.
5. Crushed Graham Crackers (1 Cup)
Crushed graham crackers provide a crunchy contrast to the soft marshmallows and chocolate. They bring that quintessential s’mores flavor into the sushi rolls, giving you the taste of toasted graham crackers that’s key to the s’mores experience. When pressed into the Marshmallow Fluff, they help balance the sweetness with a toasty, slightly nutty flavor.
6. Semisweet Chocolate Chips (1 Cup, Melted)
Chocolate is the heart of any s’mores recipe, and here it’s no different. Melted semisweet chocolate chips provide a rich, decadent layer in the sushi roll. Semisweet chocolate strikes the perfect balance between sweetness and intensity, complementing the marshmallow and graham cracker layers without overwhelming the palate. You’ll also use extra melted chocolate for dipping, adding another layer of indulgence to this treat.
Step-by-Step Instructions: Creating S’mores Sushi
Step 1: Prepare the Base
The first step in making S’mores Sushi is to create the Rice Krispies base, which will serve as the foundation of the roll.
- Line a Baking Sheet with Wax Paper and Grease It Begin by preparing your workspace. Line a large baking sheet with wax paper and lightly grease it with cooking spray. This prevents the Rice Krispies mixture from sticking to the pan and makes it easier to roll later.
- Melt the Butter and Marshmallows In a large pot over low heat, melt 1/4 cup of butter. Once the butter is fully melted, add 10 oz. of mini marshmallows and stir continuously until they’ve melted into a smooth, gooey mixture. Keep the heat low to prevent the marshmallows from burning.
- Stir in the Rice Krispies Cereal Turn off the heat and immediately add 5 cups of Rice Krispies cereal to the pot. Stir quickly to ensure the cereal is fully coated with the marshmallow mixture. You want to work fast here before the marshmallow mixture cools and starts to stiffen.
- Press the Mixture into the Baking Sheet Once the cereal is fully coated, transfer the mixture to your prepared baking sheet. Using a spatula (or your hands, greased with cooking spray to prevent sticking), press the mixture into a thin, even rectangle. The thinner the layer, the easier it will be to roll later.
Step 2: Add the Toppings
Now that you have your Rice Krispies base, it’s time to add the layers that will bring the s’mores flavors to life.
- Spread the Marshmallow Fluff Using a spatula, spread 2 cups of Marshmallow Fluff over the Rice Krispies layer. The Fluff should cover the base in an even layer, ensuring that every bite has a gooey marshmallow component.
- Sprinkle the Crushed Graham Crackers Next, sprinkle 1 cup of crushed graham crackers evenly over the Marshmallow Fluff. Press the crackers gently into the Fluff so that they stick and don’t fall out when you roll the sushi.
- Pour the Melted Chocolate Melt 1 cup of semisweet chocolate chips in a microwave-safe bowl, heating in 20-second intervals and stirring between each interval until smooth. Alternatively, you can melt the chocolate over a double boiler if you prefer. Once melted, pour the chocolate over the graham cracker layer and use a spatula to smooth it out into an even layer.
Step 3: Roll and Chill
Now that your layers are complete, it’s time to roll up the sushi.
- Slice the Sheet in Half Using a sharp knife, cut the layered sheet of Rice Krispies in half lengthwise. This will give you two long strips, each of which will be rolled into a sushi log.
- Roll the Sushi Starting from the long side of each strip, gently roll the layered Rice Krispies mixture into a tight log, much like rolling sushi. Work carefully to keep the layers intact as you roll. If any filling spills out, simply tuck it back into the roll as you go.
- Chill the Rolls Once both logs are rolled, transfer them to the refrigerator and let them chill for about 1 hour. Chilling the rolls helps them firm up, making them easier to slice into sushi-style pieces.
Step 4: Serve and Enjoy
After the rolls have firmed up in the fridge, it’s time to slice and serve!
- Slice the Rolls Using a sharp knife, slice each roll into 1-inch pieces, just like sushi. Arrange the pieces on a serving plate for an attractive presentation.
- Serve with Extra Melted Chocolate For a fun, interactive element, serve the S’mores Sushi with a side of extra melted chocolate for dipping. This adds an extra touch of indulgence and enhances the rich, chocolatey flavor.
Tips and Variations for Perfect S’mores Sushi
Get Creative with Your Toppings
While this recipe sticks to the traditional s’mores ingredients, there are endless ways to customize your S’mores Sushi. Try adding:
- Peanut Butter: Spread a thin layer of peanut butter over the Marshmallow Fluff before adding the graham crackers for a nutty twist.
- Nutella: Swap out the melted chocolate for Nutella to give the rolls a hazelnut-chocolate flavor.
- Mini Chocolate Chips: Instead of melted chocolate, sprinkle mini chocolate chips over the graham crackers for a pop of chocolate in each bite.
Use a Silicone Mat for Easy Rolling
For easier rolling, use a silicone baking mat instead of wax paper. The silicone provides a non-stick surface that helps the rolls come together more smoothly.
Toast the Marshmallow Fluff
For an extra-authentic s’mores flavor, you can lightly toast the Marshmallow Fluff layer using a kitchen torch before adding the graham crackers. This will give the Fluff a golden-brown, caramelized flavor that mimics the toasted marshmallows of traditional s’mores.
Make It Ahead
S’mores Sushi can be made ahead of time and stored in the refrigerator for up to 3 days. Simply slice the rolls before serving, and reheat the melted chocolate for dipping.
S'mores Sushi
These bite-sized treats are packed with graham crackers, marshmallow Fluff, and chocolate. The perfect combination of flavors and textures will leave you craving more. Enjoy these special occasion desserts for a satisfying snack.
Ingredients
- 1/4 cup butter
- 10 oz. mini marshmallows
- 5 cups Rice Krispies cereal
- 2 cups marshmallow Fluff
- 1 cup crushed graham crackers
- 1 cup semisweet chocolate chips, melted (plus more for serving)
Directions
- Prepare the Base:
- Line a baking sheet with wax paper and grease with cooking spray.
- In a pot over low heat, melt the butter. Add mini marshmallows and stir until melted.
- Turn off heat and immediately stir in Rice Krispies cereal until well coated.
- Press the mixture onto the prepared pan into a thin, even rectangle.
- Add Toppings:
- Spread marshmallow Fluff over the cereal base in a single layer.
- Sprinkle crushed graham crackers over the Fluff, pressing them slightly into the Fluff.
- Pour melted chocolate over the graham crackers, smoothing it into an even layer with a spatula.
- Roll and Chill:
- Slice the layered sheet in half lengthwise.
- Roll up each half starting from the long side, similar to a sushi roll.
- Refrigerate until firm, about 1 hour.
- Serve:
- Slice into sushi roll pieces.
- Serve with additional melted chocolate for dipping.
Why You’ll Love S’mores Sushi
S’mores Sushi combines everything you love about s’mores—gooey marshmallows, crunchy graham crackers, and rich chocolate—into a fun and unique dessert. It’s a fantastic option for kids’ parties, potlucks, or any time you want to offer a whimsical take on a classic treat. The no-bake aspect makes it an easy dessert to throw together, and the sushi-style presentation adds a playful element to your dessert table.
Final Thoughts: A Playful, Indulgent Treat for Any Occasion
With just a few simple ingredients and steps, you can transform traditional s’mores into S’mores Sushi, a dessert that’s as fun to make as it is to eat. Whether you’re serving it at a summer BBQ, a birthday party, or simply treating yourself, this creative take on s’mores is sure to impress. Plus, it’s endlessly customizable, so feel free to get creative and make it your own!

