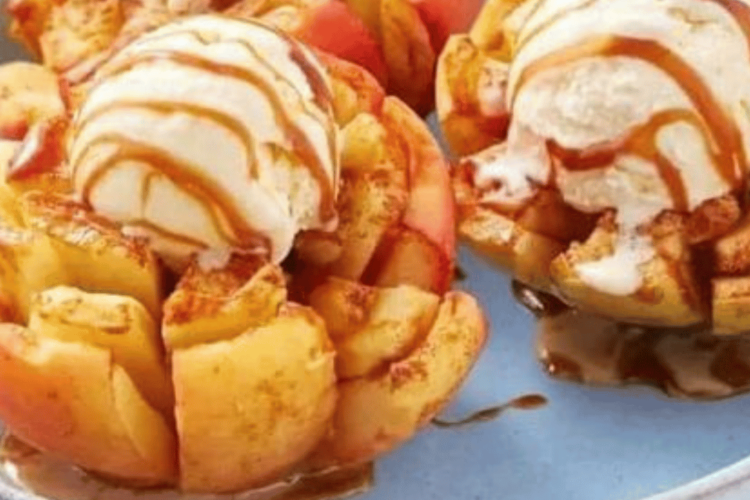
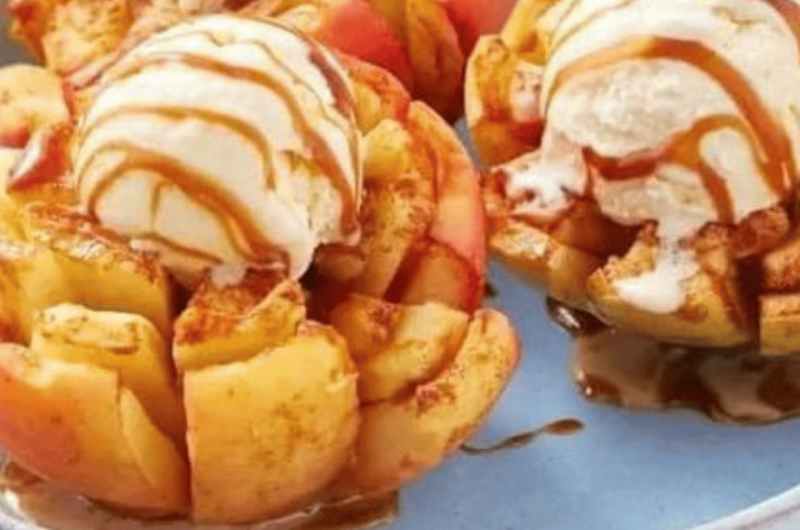
Imagine the warmth and aroma of spiced apples filling your kitchen, with a dessert that’s as impressive to serve as it is easy to make. These Oven-Baked Bloomin’ Apples are the perfect treat for fall—or anytime you crave a warm, comforting dessert. This recipe is not only simple but also features beautiful “bloomin'” apples that fan out in a gorgeous presentation. They’re filled with a cinnamon-butter mixture, baked until tender, and best served with a scoop of vanilla ice cream. Let’s dive into how to make this delightful dessert step by step!
Jump to RecipeIngredients: What You’ll Need
Each component in this recipe works together to enhance the natural flavor of the apples, turning them into a caramelized, cinnamon-scented masterpiece.
1. Large Apples (4)
The star of this recipe is the apple. For the best results, choose firm, tart-sweet varieties like Honeycrisp or Granny Smith. These types hold up well during baking, ensuring the apples don’t turn mushy, and their tartness balances perfectly with the sweet filling.
2. Unsalted Butter (¼ Cup, Melted)
Unsalted butter adds richness and helps carry the flavors of the cinnamon and sugar. Melted butter will mix smoothly with the sugar, creating a luscious filling that soaks into the apples as they bake.
3. Brown Sugar (¼ Cup)
Brown sugar gives the filling a deep, caramel-like sweetness. It melts into the butter, creating a syrup that coats the apples and infuses them with flavor. You can substitute it with coconut sugar or even maple syrup for a slightly different sweetness profile.
4. Ground Cinnamon (1 Teaspoon)
Cinnamon is the quintessential spice that pairs perfectly with apples. It adds warmth and a slightly spicy flavor that enhances the natural sweetness of the fruit. Feel free to add a pinch of nutmeg or allspice for extra depth.
5. Chopped Pecans or Walnuts (¼ Cup, Optional)
For a bit of crunch, you can sprinkle chopped pecans or walnuts on top of the apples. These nuts add a delicious texture contrast and a nutty richness that pairs wonderfully with the tender, baked apples.
6. Vanilla Ice Cream (For Serving)
No baked apple dessert is complete without a scoop of vanilla ice cream. The creamy, cold ice cream melts over the warm apples, creating a delightful contrast of temperatures and textures. You can also serve the apples with whipped cream or caramel sauce for an equally decadent option.
Step-by-Step Instructions: Creating Your Bloomin’ Apples
This recipe is simple to prepare, and the result is a show-stopping dessert. Follow these steps for perfect Oven-Baked Bloomin’ Apples every time:
Step 1: Preheat the Oven
Begin by preheating your oven to 375°F (190°C). Preheating ensures that the oven is at the right temperature when you place the apples inside, allowing them to cook evenly and caramelize beautifully.
Step 2: Prepare the Apples
Wash and core 4 large apples, leaving the bottom of each apple intact. The core removal creates a hollow center that can be filled with the delicious cinnamon-sugar mixture. If needed, slice a small portion off the bottom of each apple to create a flat base, so they stand upright in the baking dish.
Pro Tip: You can use an apple corer for this step, but if you don’t have one, a paring knife works just as well.
Step 3: Make the Cinnamon-Sugar Mixture
In a small bowl, combine the melted butter, ¼ cup of brown sugar, and 1 teaspoon of ground cinnamon. Mix these ingredients until they are well blended. This mixture is the heart of the recipe—it melts into the apples as they bake, infusing them with flavor and creating a sweet, spiced syrup.
Step 4: Arrange the Apples in a Baking Dish
Place the cored apples in a baking dish. A medium-sized dish will work best for holding the apples snugly together without them toppling over during baking.
Step 5: Fill and Top the Apples
Using a spoon, drizzle the cinnamon-sugar mixture evenly over each apple, making sure to spoon some into the hollowed centers. If you’re using chopped nuts, sprinkle them over the apples at this stage for added texture and flavor.
Optional Variation: You can also stuff the centers with raisins or dried cranberries for an extra fruity twist!
Step 6: Bake
Place the baking dish in the preheated oven and bake for 25-30 minutes. The apples should become fork-tender, but still hold their shape. If you prefer your apples to be softer, you can extend the baking time by 5-10 minutes. The cinnamon-sugar mixture will bubble and caramelize, creating a sauce that clings to the apples.
Pro Tip: Keep an eye on the apples during baking—if they’re browning too quickly, you can cover the dish loosely with aluminum foil to prevent over-browning.
Step 7: Let the Apples Cool
Once baked, remove the dish from the oven and allow the apples to cool slightly. The syrup will be very hot, so letting them cool for about 5 minutes before serving makes them easier to handle and allows the flavors to meld even further.
Step 8: Serve with Vanilla Ice Cream
For the ultimate dessert experience, serve these bloomin’ apples warm with a generous scoop of vanilla ice cream on the side. The contrast of the cold ice cream melting into the warm, spiced apples is truly irresistible.
Tips for Success: Elevating Your Bloomin’ Apples
1. Customize the Flavor
You can play around with the spices by adding nutmeg, allspice, or even a splash of vanilla extract to the cinnamon-sugar mixture for extra depth of flavor. If you want a more indulgent twist, drizzle caramel sauce over the apples right before serving.
2. Choosing the Right Apples
For best results, use firm apples that can withstand baking without turning mushy. Honeycrisp apples have a great balance of sweetness and tartness, while Granny Smith apples offer a more tart flavor, which pairs well with the sweet filling. Other good options include Braeburn or Fuji apples.
3. Make Ahead
If you’re preparing these apples for a party or dinner, you can core and prep the apples ahead of time. Just brush them with a little lemon juice to prevent browning and store them in the refrigerator. When you’re ready to bake, fill them with the cinnamon mixture and pop them in the oven.
4. Double the Recipe
This recipe can easily be doubled or tripled for larger gatherings. Just make sure to use a large enough baking dish, or bake the apples in batches.
Oven Baked Bloomin’ Apples
15
minutes30
minutes45
minutesThese sweet apples are packed with cinnamon and a hint of sweetness. The perfect combination of flavors and textures will leave you craving more. Enjoy these special occasion treats for a satisfying dessert.
Ingredients
- 4 large apples (Honeycrisp or Granny Smith work well)
- 1/4 cup unsalted butter, melted
- 1/4 cup brown sugar
- 1 teaspoon ground cinnamon
- 1/4 cup chopped pecans or walnuts (optional)
- Vanilla ice cream for serving
Directions
- Preheat your oven to 375°F (190°C).
- Wash and core the apples, leaving the bottom intact. If necessary, slice a small portion off the bottom to create a stable base.
- In a small bowl, mix melted butter, brown sugar, and ground cinnamon until well combined.
- Place the cored apples in a baking dish.
- Spoon the cinnamon-sugar mixture evenly over each apple, making sure to get the mixture into the cored center.
- If desired, sprinkle chopped nuts over the top of each apple.
- Bake in the preheated oven for 25-30 minutes or until the apples are tender.
- Remove from the oven and let them cool slightly before serving.
- Serve the bloomin' apples warm, preferably with a scoop of vanilla ice cream on the side.
- Enjoy the delightful aroma and flavors of these Cinnamon-Spiced Bloomin' Apples!
Conclusion: A Show-Stopping Dessert for Any Occasion
These Oven-Baked Bloomin’ Apples are a delightful way to enjoy the comforting flavors of fall. With their sweet, buttery filling and tender texture, they’re perfect for cozy nights in or as a beautiful dessert for a special occasion. The combination of spiced apples, crunchy nuts (if using), and melting ice cream makes every bite a treat to remember.
Whether you’re looking for a simple weeknight dessert or a festive finale to a holiday meal, these bloomin’ apples are sure to impress. Best of all, they’re easy to customize with different spices, nuts, or toppings, so you can make them your own. Enjoy this fall-inspired dessert that’s as comforting as it is delicious!

