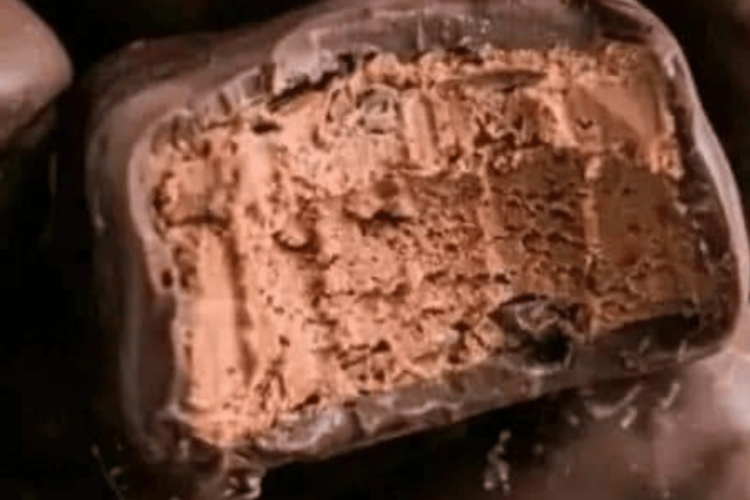
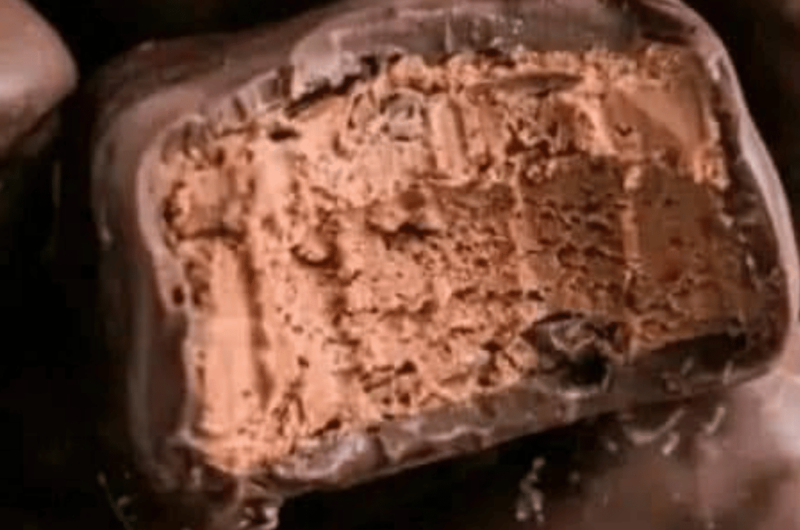
Looking for a no-fuss dessert that’s as fun to make as it is to eat? Easy & Quick Cool Whip Candy is the perfect solution! With just a handful of ingredients, a little creativity, and no need for baking, you can whip up these sweet, creamy, and colorful treats in no time. Whether you’re looking for a family activity, a festive addition to a holiday table, or just a quick dessert fix, these candies deliver.
Let’s walk through everything you need to know to make this delightful frozen treat, step by step.
Jump to RecipeWhy You’ll Love Cool Whip Candy
- Minimal Ingredients: You only need five main ingredients, plus optional extras like food coloring or sprinkles for added flair.
- Customizable: Choose your favorite pudding flavors and colors to match any occasion or personal preference.
- Kid-Friendly: This recipe is perfect for little helpers they’ll love mixing, scooping, and decorating!
- No Baking Required: All you need is a freezer, making this a great choice for warm days or when you don’t want to turn on the oven.
- Quick and Easy: From start to finish, it takes just a few minutes of active prep time.
Ingredients
To make this creamy, sweet candy, gather the following:
Main Ingredients
- Cool Whip (8 ounces, thawed): The base of the candy, providing a light and fluffy texture.
- Instant Pudding Mix (3.4 ounces): Adds flavor and thickens the mixture. Choose any flavor chocolate, vanilla, butterscotch, or even seasonal options like pumpkin spice.
- Powdered Sugar (1 cup): Sweetens the candy and helps firm up the texture.
- Vanilla Extract (1 teaspoon): Adds a touch of depth and enhances the overall flavor.
Optional Additions
- Food Coloring: Create vibrant hues to match holidays, parties, or themes.
- Sprinkles or Colored Sugar: Add a festive touch and some crunch to the candies.
Kitchen Tools You’ll Need
- Mixing Bowl: For combining the ingredients.
- Hand Mixer or Whisk: To ensure the candy mixture is smooth and creamy.
- Baking Sheet: A flat surface for shaping and freezing the candies.
- Parchment or Wax Paper: Keeps the candies from sticking to the tray.
- Cookie Scoop or Spoon: For portioning the candy.
Step-by-Step Instructions
Step 1: Prepare the Candy Mixture
- In a large mixing bowl, combine the thawed Cool Whip, instant pudding mix, powdered sugar, and vanilla extract.
- Using a hand mixer or whisk, mix the ingredients until you achieve a thick, creamy consistency. This forms the base of your candy.
Tip: Ensure the Cool Whip is fully thawed before mixing to avoid lumps and achieve a smooth texture.
Step 2: Add Food Coloring (Optional)
- If you’d like to give your candy a pop of color, add a few drops of food coloring to the mixture.
- Stir thoroughly until the color is evenly distributed.
Pro Tip: Divide the mixture into separate bowls and use different colors for a multi-colored candy assortment.
Step 3: Prepare the Baking Sheet
- Line a baking sheet or tray with parchment or wax paper. This prevents sticking and makes it easy to remove the candies once frozen.
- Using a cookie scoop or spoon, portion out the Cool Whip mixture and place each scoop onto the prepared sheet. The size is up to you smaller scoops make bite-sized treats, while larger ones are great for sharing.
Tip: Leave a little space between each candy to prevent them from sticking together as they freeze.
Step 4: Decorate Your Candy (Optional)
- Add a festive touch by sprinkling colored sugar, sprinkles, or edible glitter on top of each candy portion.
- For a seasonal twist, use themed toppings like red and green sprinkles for Christmas or pastel colors for spring.
Step 5: Freeze the Cool Whip Candy
- Place the baking sheet in the freezer and let the candies set for 2-3 hours, or until firm.
- Freezing helps create a satisfying frozen exterior while maintaining a creamy center.
Step 6: Serve and Enjoy!
- Once the candies are fully frozen, remove the tray from the freezer.
- Serve immediately and enjoy these delightful frozen bites!
Tip: If you have leftovers, store them in an airtight container in the freezer to keep them fresh.
Flavor Variations to Try
One of the best things about Cool Whip Candy is how customizable it is. Here are some fun flavor combinations to inspire you:
- Classic Vanilla Dream: Use vanilla pudding mix and no food coloring for a simple yet elegant treat.
- Chocolate Bliss: Opt for chocolate pudding mix and top with mini chocolate chips.
- Fruity Fun: Try strawberry or banana pudding mix with matching food coloring. Add fruity sprinkles for extra flair.
- Butterscotch Delight: Use butterscotch pudding mix and top with caramel drizzle.
- Holiday Cheer: Choose festive colors like red and green food coloring, and use seasonal sprinkles to match.
Tips for Perfect Cool Whip Candy
- Use a Chilled Mixing Bowl: For an even fluffier texture, chill your mixing bowl before combining the ingredients.
- Don’t Overmix: Mix just until combined to maintain the airy texture of the Cool Whip.
- Work Quickly: The mixture can become soft if left out for too long, so portion and decorate it promptly.
- Experiment with Shapes: Use silicone molds to create fun shapes like hearts, stars, or flowers.
Serving Suggestions
Cool Whip Candy is versatile and perfect for various occasions:
- Party Platters: Arrange them on a tray with other no-bake desserts for an impressive spread.
- Kid-Friendly Treats: Serve as a fun snack during playdates or birthday parties.
- Holiday Goodies: Add them to gift boxes or tins for a sweet homemade touch.
- Movie Night Snack: Pair with popcorn for a delightful sweet-and-salty combo.
Make-Ahead and Storage Tips
Make-Ahead
Cool Whip Candy is perfect for preparing in advance. Make a batch a day or two before your event, and store it in the freezer until needed.
Storage
- Store the candies in a single layer in an airtight container. If stacking, use parchment paper between layers to prevent sticking.
- Keep them in the freezer for up to two weeks.
Why This Recipe Works
The beauty of this recipe lies in its simplicity and flexibility. The combination of Cool Whip, pudding mix, and powdered sugar creates a creamy, dreamy texture that’s hard to resist. Freezing adds a refreshing twist, while optional toppings let you customize the candies for any occasion. Plus, the no-bake method means anyone can make these treats, regardless of their baking skills.
Frequently Asked Questions
Can I use sugar-free pudding mix?
Yes! Sugar-free pudding mix works just as well, making this a lower-sugar treat.
What if I don’t have Cool Whip?
You can use homemade whipped cream, but the texture may be slightly softer.
Can I refreeze Cool Whip Candy if it softens?
Absolutely. If the candies start to soften, just pop them back in the freezer until firm.
Is there a dairy-free option?
Yes! Use a dairy-free whipped topping and pudding mix for a completely dairy-free version.
Nutritional Information
Here’s an approximate breakdown per candy piece (assuming 20 pieces):
- Calories: 70
- Fat: 2g
- Carbohydrates: 12g
- Protein: 0.5g
(Note: Nutritional values vary depending on the size of each piece and the type of pudding mix used.)
A Sweet Treat for Any Occasion
Whether you’re hosting a party, satisfying your sweet tooth, or simply looking for a fun recipe to try, Easy & Quick Cool Whip Candy is the answer. With endless flavor possibilities, vibrant colors, and minimal effort, this no-bake treat is a guaranteed crowd-pleaser.
Give it a try, and don’t forget to experiment with flavors and toppings to make it uniquely yours. Happy candy-making!
Easy & Quick Cool Whip Candy
These no-bake candies are creamy and refreshing. The perfect combination of flavors and textures will leave you craving more. Enjoy this special occasion treat for a satisfying dessert.
Ingredients
1 (8-ounce) container of Cool Whip (thawed)
1 package (3.4 ounces) of instant pudding mix (choose any flavor you prefer)
1 cup of powdered sugar
1 teaspoon of vanilla extract
Food coloring (optional)
Sprinkles or colored sugar (optional, for decoration)
Directions
- Step 1: Prepare the Candy Mixture
- In a mixing bowl, add the thawed Cool Whip, instant pudding mix, powdered sugar, and vanilla extract.
- Using a hand mixer or mixing by hand, combine these ingredients thoroughly. Mix until you achieve a thick, creamy consistency. This is the base of your Cool Whip candy.
- Step 2: Add Food Coloring (Optional)
- If you’d like to give your Cool Whip candy some color, this is the time to add a few drops of food coloring. Stir the mixture until the color is evenly distributed. You can use any color to match a theme, holiday, or preference.
- Step 3: Prepare the Baking Sheet
- Line a baking sheet or large tray with parchment paper or wax paper. This will prevent the candy from sticking.
- Using a spoon or a small cookie scoop, drop portions of the Cool Whip mixture onto the prepared baking sheet. You can make them as large or as small as you like.
- Step 4: Add Toppings (Optional)
- For added decoration and flavor, sprinkle some colored sugar or sprinkles on top of each candy portion. This step is optional, but it adds a nice festive touch.
- Step 5: Freeze the Cool Whip Candy
- Place the tray in the freezer and allow the Cool Whip candies to set for approximately 2-3 hours, or until they become firm. Freezing helps give the candies a satisfying frozen exterior while keeping the center creamy.
- Step 6: Enjoy Your Frozen Treats!
- Once the candies are completely frozen, take the tray out of the freezer and enjoy these delightful bites. They’ll have a creamy center with a frozen exterior, offering a unique texture that’s fun to eat.

