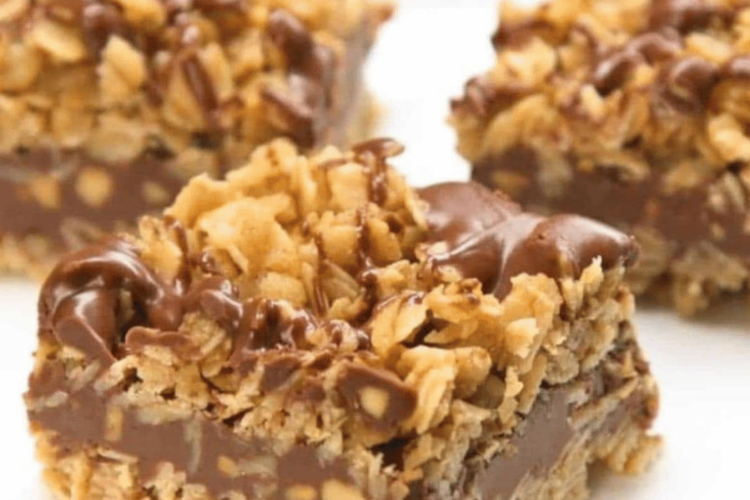
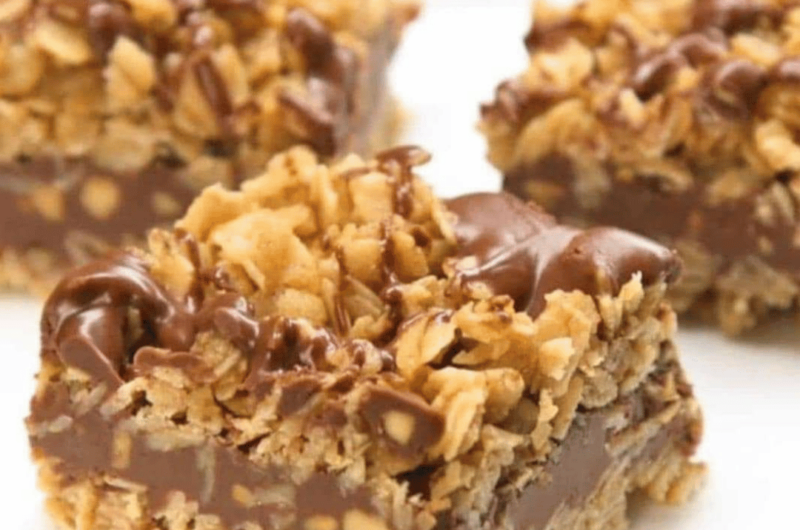
Life gets busy, and sometimes you need a sweet treat that’s quick, easy, and doesn’t require turning on the oven. Enter No-Bake Chocolate Oat Bars, a decadent dessert with layers of buttery oats and smooth chocolate peanut butter filling. These bars strike the perfect balance between rich and wholesome, making them an ideal snack or dessert for any occasion.
Whether you’re looking for something to whip up for a potluck, a quick afternoon treat, or a simple dessert to satisfy a chocolate craving, this no-bake recipe has you covered.
Jump to RecipeWhy You’ll Love These No-Bake Chocolate Oat Bars
- No Oven Required: Perfect for hot days when you don’t want to heat up the kitchen.
- Quick and Easy: From start to finish, these bars come together in just a few simple steps.
- Minimal Ingredients: Made with pantry staples like oats, chocolate chips, and peanut butter.
- Versatile: Customizable with add-ins like nuts, dried fruits, or coconut flakes.
Ingredients Breakdown
Here’s what you’ll need to create these delicious bars:
For the Oat Layers
- 1 cup butter: Provides richness and helps bind the oat layers together.
- 1/2 cup packed brown sugar: Adds sweetness and a hint of molasses flavor.
- 1 teaspoon vanilla extract: Enhances the overall flavor.
- 3 cups quick cooking oats: The base of the bars, offering texture and heartiness.
For the Chocolate Peanut Butter Filling
- 1 cup semisweet chocolate chips: Melts into a luscious chocolate layer.
- 1/2 cup peanut butter: Adds creaminess and a nutty flavor that pairs perfectly with chocolate.
Step-by-Step Instructions
Step 1: Prepare Your Pan
Grease a 9×9-inch square pan or line it with parchment paper for easy removal later. This will ensure the bars don’t stick and are easy to cut.
Step 2: Make the Oat Mixtur
- Melt the Butter: In a large saucepan over medium heat, melt the butter completely.
- Add Brown Sugar and Vanilla: Stir in the brown sugar and vanilla extract until well combined. The mixture should look smooth and glossy.
- Incorporate the Oats: Add the quick cooking oats and stir to coat them evenly. Cook over low heat for 2-3 minutes, allowing the oats to absorb some of the buttery mixture.
Step 3: Build the Base Layer
- Press Half the Mixture: Take half of the oat mixture and press it firmly into the bottom of your prepared pan. Use the back of a spoon or your hands (lightly greased) to create an even layer.
- Set Aside the Rest: Reserve the remaining oat mixture for the topping.
Step 4: Prepare the Chocolate Filling
- Melt the Chocolate and Peanut Butter: In a small heavy saucepan over low heat, combine the semisweet chocolate chips and peanut butter. Stir frequently until the mixture is smooth and creamy.
- Spread the Filling: Pour the melted chocolate mixture over the pressed oat layer in the pan. Use a knife or the back of a spoon to spread it evenly across the surface.
Step 5: Add the Topping
- Crumble the Remaining Oats: Take the reserved oat mixture and crumble it over the chocolate layer.
- Press Gently: Lightly press the oat topping into the chocolate to help it stick while maintaining a crumbly texture.
Step 6: Chill and Se
- Refrigerate: Cover the pan and place it in the refrigerator for 2-3 hours or overnight. This allows the layers to set and makes the bars easier to cut.
- Bring to Room Temperature: Before cutting, let the bars sit at room temperature for a few minutes to avoid cracking the chocolate layer.
Tips for the Best No-Bake Chocolate Oat Bars
- Use Quick Cooking Oats: These work best for this recipe because they create a softer texture. Rolled oats can be used but may result in a chewier bar.
- Adjust Sweetness: For a less sweet version, reduce the brown sugar slightly. You can also use dark chocolate chips instead of semisweet.
- Line the Pan: Parchment paper makes it easy to lift the bars out of the pan for cutting.
- Customize the Recipe: Add shredded coconut, chopped nuts, or dried fruit to the oat mixture or sprinkle on top for extra texture and flavor.
- Melt Chocolate Slowly: Use low heat and stir continuously to prevent the chocolate and peanut butter from burning.
Why These Bars Are a Hit
- Perfect Texture: The combination of chewy oats and creamy chocolate peanut butter is irresistible.
- Crowd-Pleasing Flavor: Chocolate and peanut butter are a match made in dessert heaven.
- Make-Ahead Friendly: These bars taste even better the next day, making them perfect for parties or meal prep.
- No-Bake Convenience: Ideal for busy days or when you’re craving something sweet without the hassle of baking.
Variations to Try
- Add a Crunch: Mix in crushed pretzels or chopped nuts for added texture.
- Go Nut-Free: Replace peanut butter with sunflower seed butter for an allergy-friendly option.
- Amp Up the Chocolate: Add a sprinkle of mini chocolate chips on top before chilling.
- Healthier Option: Use coconut oil instead of butter and maple syrup in place of brown sugar for a lighter version.
- Layer It Up: Create a double chocolate layer by adding a second batch of melted chocolate on top of the oat topping.
How to Serve and Store
Serving Suggestions
- Cut the bars into squares or rectangles, depending on your preference.
- Serve them chilled or at room temperature.
- Pair with a glass of milk, coffee, or tea for a delightful treat.
Storing the Bars
- Refrigerate: Store in an airtight container in the fridge for up to one week.
- Freeze: Wrap individual bars in plastic wrap and store in a freezer-safe bag for up to 3 months. Thaw in the fridge or at room temperature before serving.
Why This Recipe Works
The combination of buttery oats and creamy chocolate peanut butter is classic yet timeless. The no-bake method keeps the process simple, while the layers create a dessert that feels indulgent and satisfying. The oats provide texture and heartiness, while the chocolate layer adds richness.
Nutritional Information
Approximate per serving (based on 16 servings):
- Calories: 250-300
- Protein: 4g
- Fat: 18g
- Carbohydrates: 22g
- Fiber: 2g
Make It Your Own
This recipe is a great base for creativity. Whether you’re adding a sprinkle of sea salt for a sweet-salty combo or swapping ingredients to suit dietary needs, the possibilities are endless.
Conclusion
These No-Bake Chocolate Oat Bars are the ultimate treat for any occasion. With simple ingredients and an easy process, they deliver maximum flavor with minimal effort. Perfectly portable, these bars are great for potlucks, lunchboxes, or a quick snack at home.
So grab your saucepan, a spoon, and your sweet tooth it’s time to whip up a batch of these irresistible bars. Just be warned: they won’t last long once your family or friends get a taste!
No Bake Chocolate Oat Bars
These rich and chewy bars are packed with chocolate and oats. The perfect combination of flavors and textures will leave you craving more. Enjoy this special occasion treat for a satisfying dessert.
Ingredients
1 cup butter
1/2 cup packed brown sugar
1 teaspoon vanilla extract
3 cups quick cooking oats
1 cup semisweet chocolate chips
1/2 cup peanut butter
Directions
- Grease a 9×9 inch square pan.
- Melt butter in large saucepan over medium heat. Stir in brown sugar and vanilla. Mix in the oats. Cook over low heat 2 to 3 minutes, or until ingredients are well blended. Press half of mixture into the bottom of the prepared pan. Reserve the other half for topping.
- Meanwhile, melt chocolate chips and peanut butter in a small heavy saucepan over low heat, stirring frequently until smooth. Pour the chocolate mixture over the crust in the pan, and spread evenly with a knife or the back of a spoon.
- Crumble the remaining oat mixture over the chocolate layer, pressing in gently. Cover, and refrigerate 2 to 3 hours or overnight. Bring to room temperature before cutting into bars

