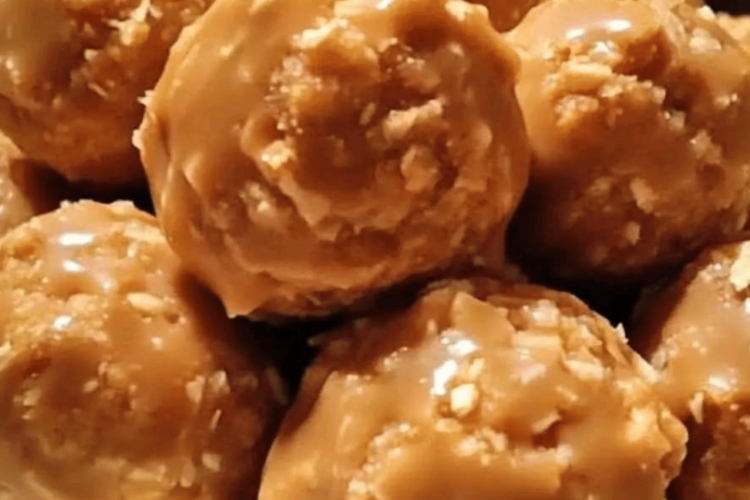
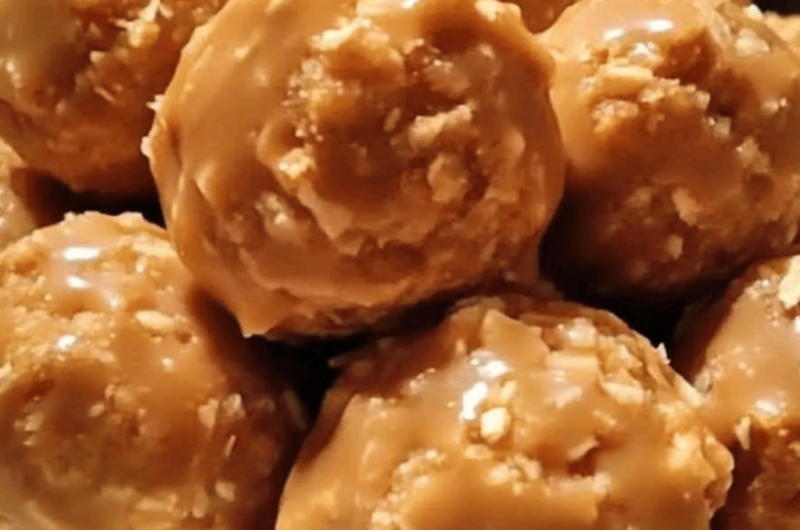
If you’re a fan of the classic Butterfinger candy bar, these Butterfinger Balls are going to be your new favorite treat! They’re crunchy, chocolatey, and satisfyingly sweet perfect for parties, family get-togethers, or as a fun weekend treat to make with the kids. Plus, they’re no-bake, so you don’t even have to turn on the oven!
Jump to RecipeWhy You’ll Love These Butterfinger Balls 🤤
- Easy to Make: No baking required, and they come together quickly with just a few ingredients.
- Classic Candy Bar Flavor: All the buttery, peanut-buttery, crunchy goodness of Butterfingers in a bite-sized treat!
- Versatile: Perfect for holidays, movie nights, or anytime you want a quick, crowd-pleasing dessert.
- Great for Gifting: Wrap them up in festive bags, and you have a thoughtful homemade gift.
Ingredients You’ll Need 📝
- 2 cups crushed Butterfinger candy bars (about 16 fun-sized bars)
The star of the show! Crush these up for the perfect crunch and flavor. - 8 oz. cream cheese, softened
This helps bind the Butterfinger pieces together while adding a smooth, creamy texture. - 2 cups semi-sweet chocolate chips
Melting chocolate chips creates the outer coating, giving each Butterfinger ball a rich, chocolatey finish. - 1 tbsp vegetable shortening (optional)
Adding a bit of shortening to the melted chocolate can make it smoother and easier to dip. - Optional: Butterfinger or chocolate sprinkles for decoration
Add some flair with extra Butterfinger pieces or chocolate sprinkles!
Step-by-Step Instructions 🥄
1. Crush the Butterfinger Candy Bars
- Start by unwrapping about 16 fun-sized Butterfinger bars. Place them in a plastic bag and crush them using a rolling pin or mallet until you have fine crumbs.
- You can also pulse the candy bars in a food processor if you want a quicker option.
2. Mix It All Together
- In a large mixing bowl, combine the crushed Butterfinger pieces with 8 oz of softened cream cheese.
- Use a hand mixer or spoon to thoroughly mix until well combined. The mixture should come together and be easy to shape.
3. Shape the Balls
- Using a small scoop or spoon, take about a tablespoon of the mixture and roll it between your palms to form 1-inch balls.
- Place the balls on a parchment-lined baking sheet. Once you’ve formed all the balls, refrigerate them for 30 minutes. Chilling will firm them up, making them easier to dip.
4. Melt the Chocolate
- In a microwave-safe bowl, add the 2 cups of semi-sweet chocolate chips along with 1 tbsp of vegetable shortening (if using).
- Microwave in 30-second intervals, stirring in between until the chocolate is fully melted and smooth. Be careful not to overheat the chocolate; otherwise, it can seize up and become unusable.
5. Dip the Butterfinger Balls
- Remove the chilled balls from the refrigerator. Using a fork or dipping tool, dip each ball into the melted chocolate, making sure it’s fully coated.
- Let the excess chocolate drip off, then place the coated balls back on the parchment-lined sheet. If desired, sprinkle with extra crushed Butterfinger or chocolate sprinkles while the chocolate is still wet.
6. Let Them Set
- Allow the dipped Butterfinger balls to sit at room temperature or pop them in the fridge for faster setting.
- Once the chocolate coating has hardened, they’re ready to enjoy!
Tips for Perfect Butterfinger Balls 🍬
- Crush the Candy Bars Finely: This will give the balls a smoother texture. Larger chunks are delicious but might make the mixture harder to roll.
- Chill Before Dipping: Chilling the balls for at least 30 minutes makes them firm enough to hold their shape during dipping.
- Customize the Chocolate: If you’re a fan of white chocolate or dark chocolate, feel free to switch up the chocolate coating.
- Decorate with Extra Butterfinger: Sprinkling extra crushed Butterfinger pieces on top adds both flavor and texture, plus a bit of extra visual appeal.
Why This Recipe is a Family Favorite ❤️
Butterfinger Balls are a nostalgic treat that reminds me of making sweets with my family as a kid. They’re the kind of dessert you can make with little hands helping out, and everyone always wants to lick the spoon at the end! Plus, the sweet and salty Butterfinger pieces combined with the creamy center and rich chocolate coating make these little bites irresistible.
Get Ready to Wow Everyone! 🎉
These Butterfinger Balls are sure to be a hit, whether you’re bringing them to a gathering or enjoying them at home. They’re rich, creamy, and just the right amount of sweet, with a bit of that classic Butterfinger crunch in every bite. Give them a try, and don’t forget to let me know how they turned out in the comments. If you add your own twist like using different chocolate or adding other toppings share your ideas too!
Butterfinger Balls
These rich truffles are packed with the buttery crunch of Butterfinger candy bars and a creamy chocolate coating. The perfect combination of flavors and textures will leave you craving more. Enjoy these special occasion treats for a satisfying dessert.
Ingredients
2 cups crushed Butterfinger candy bars (about 16 fun-sized bars)
8 oz. cream cheese, softened
2 cups semi-sweet chocolate chips
1 tbsp optional vegetable shortening for smoother dipping
Optional: Butterfinger or chocolate sprinkles for decoration
Directions
- Mix Ingredients:
- In a spacious bowl, mix together powdered sugar, graham cracker crumbs, Butterfinger pieces, melted butter, and peanut butter.
- Form Balls:
- Form the mixture into 1-inch balls and chill in the refrigerator for 30 minutes.
- Melt Chocolate:
- Follow the package instructions to melt the chocolate almond bark.
- Dip Balls:
- Take the chilled balls from the refrigerator and dip them into the melted chocolate almond bark.
- Set and Enjoy:
- Arrange the coated balls on parchment or wax paper and allow them to sit until the chocolate has set.
Notes
Ensure the candy bars are finely crushed for a consistent texture.
Refrigerate the shaped balls for 30 minutes to make dipping easier.
Optional Decorations: Add sprinkles for an extra touch
Happy snacking, and enjoy these bite-sized treats! 🍬

